
Photoshop · for interior designers
Photoshop for interior designers on Mac: voice help, shortcuts and a 2026 workflow
Photoshop for interior designers on Mac is mostly finishing work. You fit flooring and wallpaper samples into perspective views, crop renders to window angles, add light and people for scale, then export a board for the client. This guide covers those jobs step by step, with real menu paths and shortcuts. It also shows where Lazur helps, and where you still do the clicks.
You say“Walk me through fitting this oak sample into the floor.”
Lazur · walks you through itLazur guides you one click at a time and waits for each click. You stay in the file and make every change yourself.
Quick answer
- Photoshop does the finishing work: samples in perspective, window crops, light and scale people.
- Use File > Place Embedded and Edit > Perspective Warp, and keep the sample as a smart object.
- The newest release I could confirm is Photoshop 27.4, which needs macOS 14.0+. Check your version first.
- Lazur points at controls and guides you one click at a time. It does not click for you.
US$22.99/mo
Adobe single-app Photoshop plan, annual, billed monthly, US list price
Adobe Photoshop product page27.4
Newest Photoshop release I could confirm, February 2026, needs macOS 14.0+
CG Channel: Adobe releases Photoshop 27.4Over 75%
Say one traditional client render takes hours to days, in a vendor-run survey
ArchDaily: From Sketch to Render, How to Integrate AI into the WorkflowWhat interior designers ask Lazur in Photoshop
Hold ⌥ ⌘ in Photoshop and say it.
“Where is Perspective Warp in this menu?”
Lazur draws a circle and a label around Edit > Perspective Warp on your screen.
Points at it · Photoshop
“Walk me through fitting this oak sample into the floor.”
Lazur guides you one click at a time and waits for each click before it moves on.
Walks you through it · Photoshop
“Why does my wallpaper look flat in this view?”
Lazur answers out loud and points at the edge or layer that gives the sample away.
Explains what's on screen · Photoshop
“What does Clarity do to this wall, and when should I stop?”
Lazur explains what the Clarity control changes in plain terms, then you judge the wall on screen.
Explains what's on screen · Photoshop
“Draft a caption for the oak floor on this board.”
Lazur drafts a short caption and types it where you need it. You edit it before it goes to the client.
Drafts it · Photoshop
“Hold fn and dictate the note for the install team.”
Lazur types clean, formatted text at the cursor in any app, so the note is ready to send.
Types what you say · Photoshop
“Find the latest Photoshop release notes and summarize the Mac fixes.”
Lazur runs the research in its own Chrome tabs and comes back with a summary and a report.
Researches in the background · Photoshop
“Remind me to export the PDF board at 5 pm.”
Lazur adds an Apple Reminders item. It does not export the file for you.
Handles the small stuff · Photoshop
What interior designers actually do in Photoshop
Most interior designers do not use Photoshop to draw the room. They use it to finish the picture. The model comes from AutoCAD or SketchUp. You export a PDF or JPEG, then bring it into Photoshop so it looks like the room you will build.
The National Design Academy describes this flow in its guide on Photoshop for interior design. It says Photoshop transforms images to fit perspectives, such as flooring samples or wallpaper. It also crops views to window angles. The same guide warns that the tools take time to learn, and it calls Photoshop primarily an image editing program.
That last point matters. Photoshop does not model a room, measure it or check a spec. It makes an image look right. Keep the measurements in your CAD file, and keep the picture in Photoshop.
Five jobs fill most sessions on a Mac:
- Fit a flooring, tile or wallpaper sample into the floor or wall plane of a render.
- Crop a view so the frame matches the real window opening.
- Add light, contrast and haze control so the render looks photographed.
- Place people, plants and furniture to show scale.
- Build a presentation board and export it for the client.
The rest of this guide follows that order. Each job gets a Mac path, a shortcut where one exists, and the mistake people make most often.
Set up Photoshop on your Mac before the first board
Start with the version. The newest release I could confirm is Photoshop 27.4, released in February 2026. CG Channel reports it runs on macOS 14.0+. Adobe's own release notes and requirements pages were not checked for this guide, so confirm the latest build yourself.
Menu names can shift between releases. If a path looks different, open the Help menu, use the search field and type the command name. The search field finds the item even when the menu has moved.
Then set up the file, before you place a single sample.
- Turn on rulers with ⌘R so you can check scale against a floor plan.
- Set the document size to the print or screen size you will present.
- Open Photoshop > Settings > Performance and check the graphics processor option.
- Keep the untouched render as a separate file, so you can start again.
- Save a working PSD, then export a copy for the client.
- Open Edit > Keyboard Shortcuts (⌥⇧⌘K) if you want to change a shortcut you use every day.
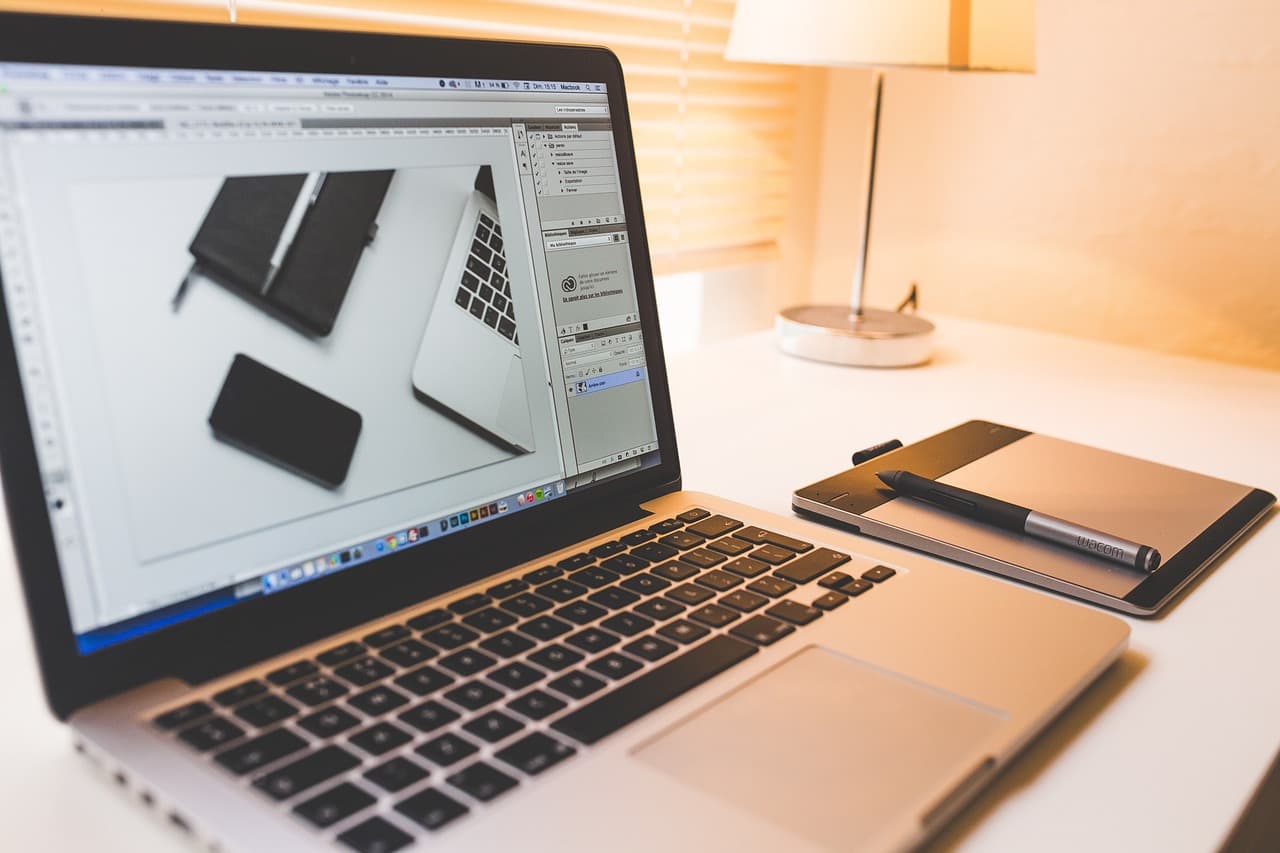
Fit a flooring or wallpaper sample into a perspective view
This job causes the most rework. A flat sample pasted onto a render looks pasted. Perspective fixes that. This is the path to follow on a Mac.
- Open the render in Photoshop. Press ⌘J to duplicate the background layer, and work on the copy.
- Choose File > Place Embedded, pick the sample image, and press Return to place it.
- Check the layer thumbnail. A smart object icon means you can edit the sample later without losing it.
- Choose Edit > Perspective Warp. Drag the four corners of the grid onto the floor edges in the render.
- Press Return to apply the warp. Lower the layer opacity if the sample reads too strong.
- Set the blend mode to Multiply in the Layers panel if the floor needs its own shadows.
Here is a worked example. A wood floor runs from the bay window to the far wall. Place the warp corners on the two floor lines that run toward the vanishing point, not on the sample edges. If the planks bend, your corners sit on the wrong lines. Undo with ⌘Z and move them again.
Edge cases come next. Rugs, furniture and walls overlap the floor. Mask the sample with Layer > Layer Mask > Reveal All, then paint black where the sofa sits. Work from the back of the room forward, so the nearest objects stay on top.
Crop a view to a window angle without losing the room
Clients want the view from the sofa, not the view from the corner. Crop to the window opening and the room's main lines, not to the edge of the render. Press C for the Crop tool and drag the frame. Lock the shape in the Ratio field in the options bar.
Make a full-frame copy before you crop. If the board needs room around the image, use Image > Canvas Size to add space. Use Image > Image Size only when you need to change the print size. Turn off Resample first, so Photoshop keeps the pixel count and only changes the print size.
- Cropping before fixing perspective, then warping a shape that no longer matches the frame.
- Cropping a flattened file, so you cannot move the frame back later.
- Using Image Size with Resample on, then wondering why the edges look soft.
Add lighting, people and plants for scale
Scale makes a room believable. A sofa with no person beside it looks like a model. Place cutouts with File > Place Embedded, one object per layer, and name each layer clearly, such as Person left or Sofa shadow.
Use Image > Adjustments > Curves (⌘M) for a quick tone change. Use Layer > New Adjustment Layer > Curves when you want to change it later. Adjustment layers keep the render untouched, and you can hide one with a click on its eye icon.
Adobe's product page lists Clarity, Dehaze and Grain as adjustment layers. Clarity adds punch to edges. Dehaze lifts distant walls. Grain adds texture, so a clean render does not look too clean.
- Compare the sofa seat height with the door handle height.
- Stand a person beside the dining table, not floating above it.
- Match the shadow direction to the window light, and keep one direction per view.
- Hide the adjustment layers one at a time and look for the change you wanted.
A layer that changes the whole image is usually too strong. Clip the adjustment to one object with Layer > Create Clipping Mask, or press ⌥⌘G with the adjustment layer selected.
Match light and color across a presentation board
A board fails when each image has its own colour cast. Start with the wall tone, since the client remembers that most. Then match the floor, the fabric and the metal finishes against it.
Use Image > Adjustments > Hue/Saturation (⌘U) to nudge a sample toward the wall tone. Use Image > Adjustments > Color Balance (⌘B) for small shifts in shadows and highlights. Small moves look right. Large moves look like a filter.
Adobe lists Harmonize on its product page as a way to blend placed objects into a scene. Use it on one object at a time. Zoom to actual size before you accept, because a blend can soften edges that looked sharp at fit-to-screen.
| Job | Menu path | Shortcut |
|---|---|---|
| Duplicate a layer | Layer > New > Layer via Copy | ⌘J |
| Perspective fit a sample | Edit > Perspective Warp | Use the menu |
| Free transform | Edit > Free Transform | ⌘T |
| Quick tone change | Image > Adjustments > Curves | ⌘M |
| Hue and saturation | Image > Adjustments > Hue/Saturation | ⌘U |
| Crop a view | Crop tool in the toolbar | C |

Where Photoshop slows down on a Mac, and why
Rendered boards are heavy. A large PSD with many smart objects slows every change you make. Speed matters because client reviews come back fast. A vendor-run survey asked architects, interior designers and visualization experts how long a traditional render takes.
US$22.99/mo
Adobe single-app Photoshop plan, annual, billed monthly, US list price
Adobe Photoshop product page27.4
Newest Photoshop release I could confirm, February 2026, needs macOS 14.0+
CG Channel: Adobe releases Photoshop 27.4Over 75%
Say one traditional client render takes hours to days, in a vendor-run survey
ArchDaily: From Sketch to Render, How to Integrate AI into the WorkflowThe survey found that over 75% say one traditional client render takes hours to days. It is vendor-run, and it does not state its sample size. Treat it as a signal, not a benchmark.
Adobe's August 2026 Photoshop beta release notes list a Mac fix for GPU rendering artifacts. The same notes fix colour banding in RGB-to-CMYK conversion with HDR colour management on. Run a current build if you see either problem.
- Close other apps that hold large images before you open a big PSD.
- Work with lower resolution sample files for layout, then swap in full size for export.
- Keep a layered master, and flatten only the copies you send out.
- Group finished layers with ⌘G, so the layers you still edit stay easy to find.
- Restart Photoshop after a long session, then reopen the last file.
Color settings for print and client PDFs
Clients see your board on screen. Printers work in CMYK. The move between them can turn a warm wall grey. Pick one working space at the start, and keep it for the whole job.
Convert only when you deliver for print. Use Edit > Convert to Profile on a copy. Check Photoshop > Settings > Color Settings first, especially if HDR colour management is on, since the beta notes above cover that path.
Export boards and PDFs without losing detail
Use File > Export > Export As for web and PDF copies. Choose the format and quality in the dialog, and check the preview before you save. Keep the PSD as the master, so every export has a source file.
Name exports by room and status, such as Kitchen board final or Living room review. Clients and installers then send back a file you can match. Avoid names like new final copy.
For a PDF board, use images at similar resolution. Mixed sizes in one PDF make small labels look soft on a large screen.
Use Generative Fill and Expand with care
Adobe's product page lists Generative Fill and Expand. They extend a photo edge, or fill a gap left after you crop. They also invent detail. A fill can add a chair or a light fitting that is not in the spec.
Check every filled area against your schedule and your CAD file. Keep the untouched layer, so you can compare before and after. Do not present AI filled areas as the real product in a client deck.
Edge cases: glass, mirrors and curved walls
Glass and mirrors reflect. A flat sample laid over a mirror looks fake. Mask the reflection area and paint the reflected objects in by hand, or ask the render team for a reflection pass.
Curved walls break a single perspective fit. Split the sample into strips, warp each strip to its own section, and blend the seams with a soft mask. If the curve is tight, go back to the model and export a new view.
File hygiene for a board that changes every week
Boards change more than the model does. Clients ask for a new floor, a different fabric and a warmer wall. Keep the file tidy, so each change is quick and easy to reverse.
- Group layers by job: Source render, Flooring, Lighting, People, Notes.
- Name every layer after what it is, not what it looks like.
- Save a version before each client review, and keep the old one.
- Store sample files in one folder next to the PSD, not on your desktop.
Good names save the most time. You will open this file again next month. A layer called Layer copy tells you nothing by then.
Where Lazur fits in this Photoshop workflow
Lazur is a voice assistant for the Mac. It lives in the notch. Hold ⌥ ⌘ to ask about anything on screen, and Lazur answers out loud. It sees the Photoshop window and points at the control you need.
Ask where a control is, and Lazur draws a circle and a label around it. Ask how to do something, and Lazur guides you one click at a time, waiting for each click. Lazur does not click buttons, edit files or operate other apps for you.
Hold fn to dictate clean, formatted text at the cursor in any app. Use it for captions, client notes and the message to the install team. Lazur is not a plugin or add-in for Photoshop. It works in any Mac app, and it does not operate Photoshop for you.
Research runs in Lazur's own Chrome tabs and comes back with a summary and a report. Use it to collect supplier notes or release notes, then check the sources yourself. Everyday tasks work too. Ask for a reminder to export the board, or a Calendar event for the install walkthrough.
Mistakes interior designers make in Photoshop
- Working on the only copy of the render. Duplicate first, every time.
- Warping to the sample edges, not to the floor or wall lines.
- Placing full-size samples for layout, which slows every move.
- Adding a shadow direction that does not match the window light.
- Turning off rulers, then letting scale drift across the board.
- Exporting a print file from an RGB master without checking the profile.
- Trusting a screen colour without a printed test.
Checklist before you send a board to a client
- Check the version under Photoshop > About Photoshop.
- Confirm every sample is a smart object, not a flattened pixel layer.
- Compare the wall colour with a printed or daylight test.
- Read each Generative Fill area against the spec.
- Export a copy and open it on a laptop and a phone.
Run this list on every board, not only the big ones. The small boards go to clients too.
What Photoshop costs, and what to check first
Adobe lists US$22.99 per month for the single-app Photoshop plan on its product page. That price is for the annual plan, billed monthly. Regional prices differ, so check the price shown at checkout.
See the pricing page for current Lazur plans. Test the workflow on one real room before you commit to either tool.
Your first Mac workflow for one room
Pick one room with a clear render and one sample. Run the five jobs in order: fit, crop, scale, match and export. Keep the original render as your fallback.
Note the step that took longest. That is the step to fix first, with a shortcut, a saved template or a voice question to Lazur. If you also work in Figma, the Figma guide for interior designers covers floor plans and mood boards. For the wider design workflow, see Photoshop for designers on Mac and the Photoshop app page.
Questions people ask
Is Photoshop good for interior designers on Mac?
Yes, for finishing work. Photoshop is an image editor first. Use it to fit samples into renders, crop views and build presentation boards. Keep the model and measurements in AutoCAD or SketchUp, as the National Design Academy guide describes.
Which Photoshop version should I use on a Mac?
The newest release I could confirm is Photoshop 27.4, from February 2026. CG Channel says it needs macOS 14.0+. Check Photoshop > About Photoshop, then update through the Creative Cloud desktop app.
How do I put a flooring sample into a render?
Use File > Place Embedded, then Edit > Perspective Warp. Drag the four corners onto the floor lines in the render. Keep the sample as a smart object so you can edit it later.
Does Lazur edit my Photoshop file for me?
No. Lazur points at controls, guides you one click at a time and answers out loud. It does not click buttons, edit files or operate other apps. You do the work in Photoshop.
Is Generative Fill safe for client boards?
Use it for background gaps and edge extension, then check every filled area against your spec. AI can invent furniture or fixtures. Keep the untouched layer so you can compare before and after.
Why does my print look different from the screen?
Screens show light, and print uses CMYK inks. Set your working profile first, convert late, and print a test page of the key wall colour. Check it in daylight before you sign off.
Do I need Lazur to use Photoshop well?
No. The menus, shortcuts and workflow in this guide work without it. Lazur helps when you forget a path, want a caption drafted or want a reminder set.
Sources
- Adobe Photoshop product page · Adobe · checked 2026-11-08
- How to Use Photoshop for Interior Design · National Design Academy · checked 2026-11-08
- Adobe Community: Release Notes - August 2026 · Adobe Community · checked 2026-11-08
- Adobe releases Photoshop 27.4 · CG Channel · checked 2026-11-08
- From Sketch to Render: How to Integrate Artificial Intelligence into the Workflow · ArchDaily · checked 2026-11-08
Try Lazur free for 3 days
Hold a key and ask. Lazur sees your screen, points at the button and talks you through it, in any Mac app. No credit card.